

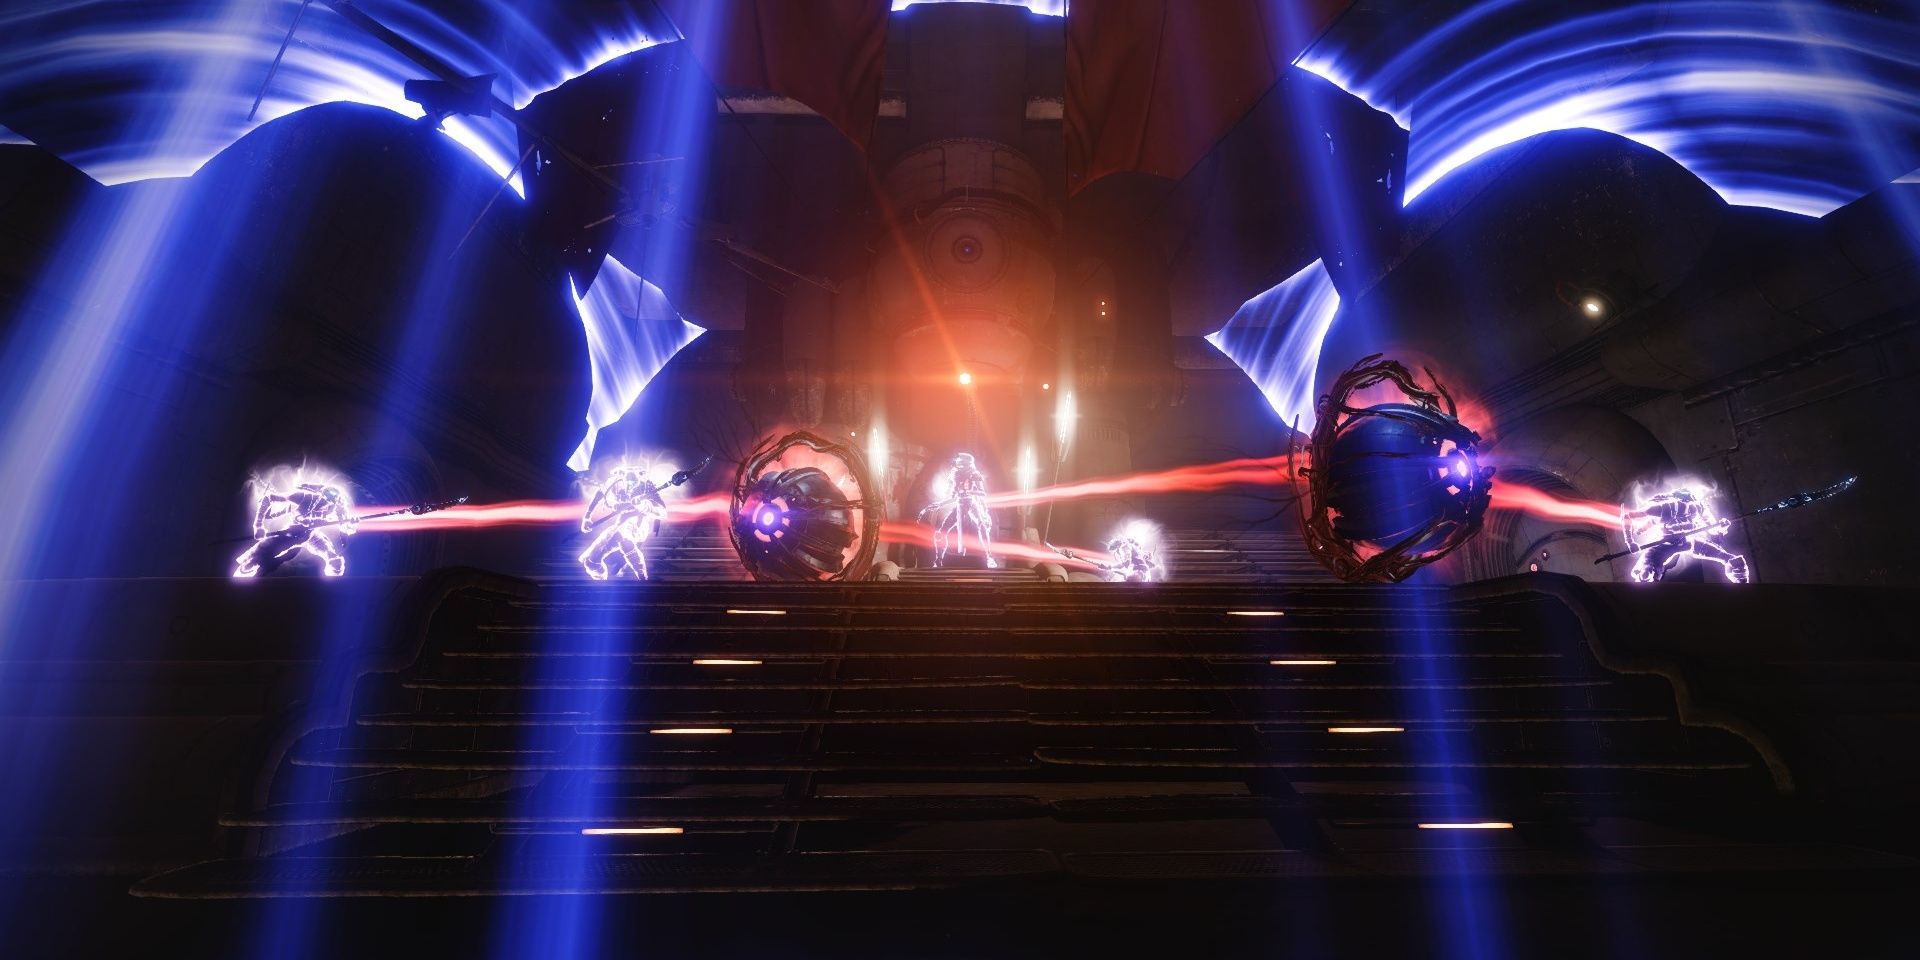
Empty Tank Legendary Lost Sector
Quick Links
- Modifiers And Recommended Loadout
- A Detailed Guide: Dance Floor
- A Detailed Guide: Cages
- A Detailed Guide: Arena
- A Detailed Guide: Boss See
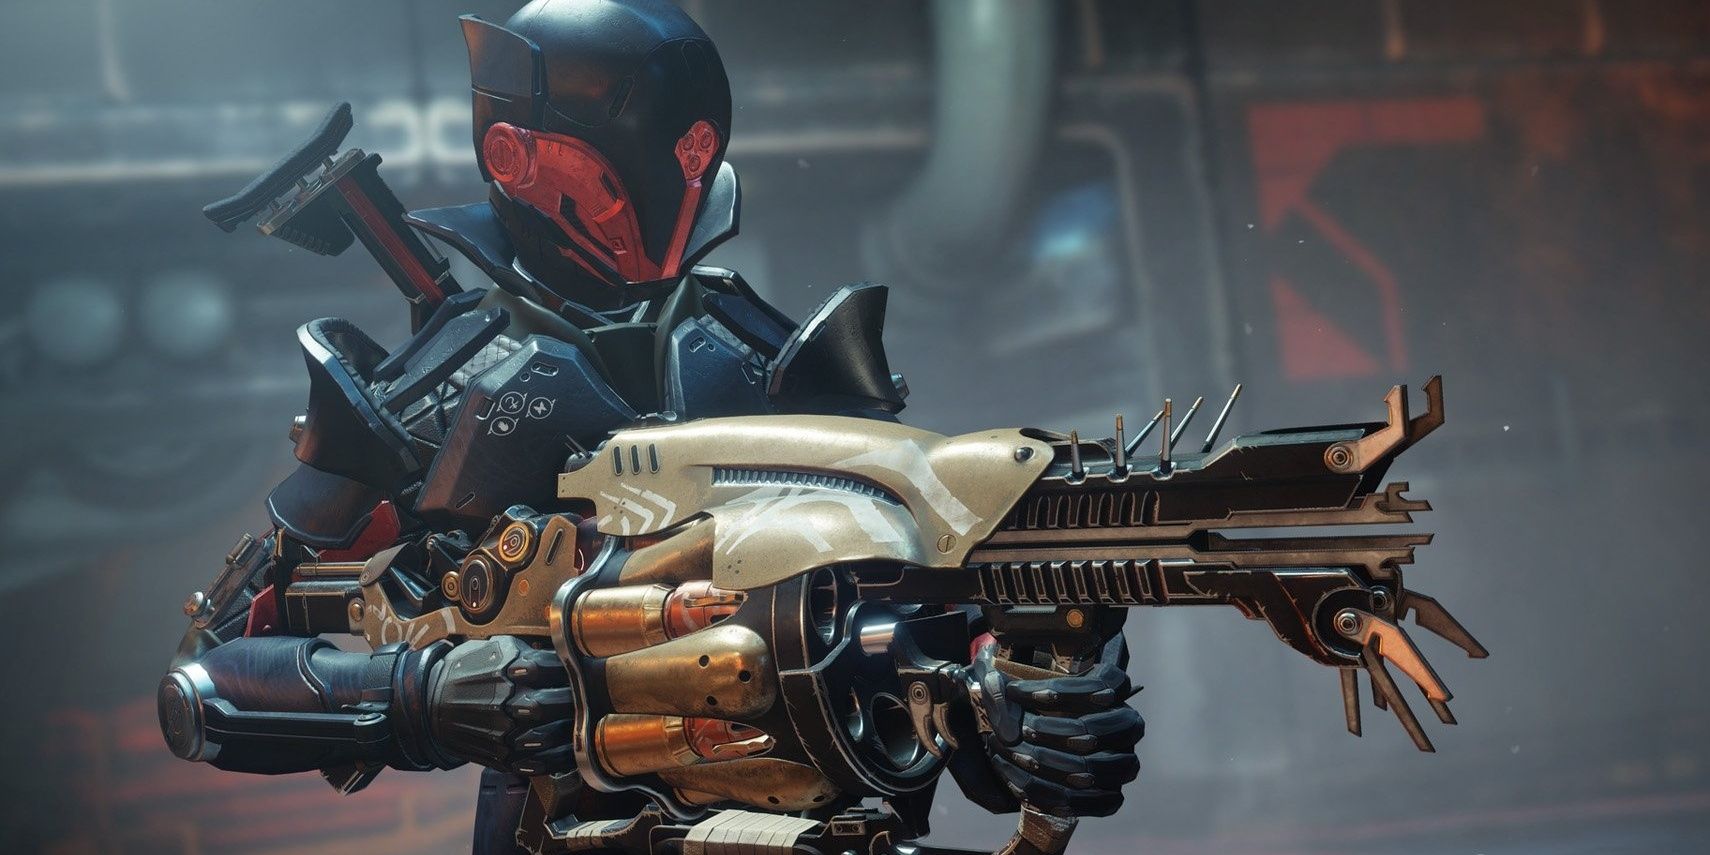
Destiny 2's Season of the Splicer has added 4 more Lost Sectors to the Legendary Lost Sector pool. 1 of Destiny ii's about notable Lost Sectors, the Tangled Shore's Empty Tank, was one of the 4 that got a Legendary variant.
This Lost Sector is rather short, filled with dozens of enemies, and contains some of the most unique combat arenas you lot'll detect in a Lost Sector. Apply your weapons and abilities to take out a Helm DJ, caged Thrall, then single-handedly take out a Fallen Marauder's supply of gladiators in a modest gainsay loonshit. If you're looking for a fun Exotic subcontract, it'south difficult to acme The Empty Tank.
Updated July 31st, 2021, by Charles Burgar: While the Destiny community waits for the next flavor to begin, at present is the perfect time to start farming Legendary Lost Sectors to learn some loftier-stat Exotic armor. The Empty Tank is one of the most fun Lost Sectors to farm, containing some intense combat encounters in a rather unique environs. We've updated this guide to be easier to read and added a table of contents for your convenience.
Modifiers And Recommended Loadout
Empty Tank Modifiers
| Master Difficulty |
|
| Champions |
|
| Faction Modifier |
|
| Destination Modifier |
|
| Master Modifier |
|
| Burn |
|
| Shields |
|
Subclass
| Hunter |
|
|---|---|
| Warlock |
|
| Titan |
|
Weapons
| Chaos OR Witherhaord | Both GLs are best in slot thanks to Breach and Clear. Anarchy is more convenient for this mission, but Witherhoard likewise works. |
| Solar Rocket Launchers | Solar damage is 50% stronger in this Lost Sector, meaning Solar Rocket Launchers deal splendid harm. |
| Empty Vessel | Information technology deals Solar damage, has corking perks, and tin spawn Warmind Cells if you have Wrath of Rasputin on your armor. |
| Seventh Seraph Officer Revolver | Stuns Champions rapidly and can generate Warmind Cells. |
Mods
| Arc Damage Resistance | Nearly everything in this Lost Sector deals Arc impairment. This reduces incoming Arc damage by 25/40%. |
| Warmind Cell Mods | Warmind Cells are fantastic in this Lost Sector, immigration entire waves without much input. |
| Alienation and Articulate | Makes bosses and Champions accept 30% more damage for ten seconds. It's more than worth the free energy cost. |
A Detailed Guide: Dance Floor
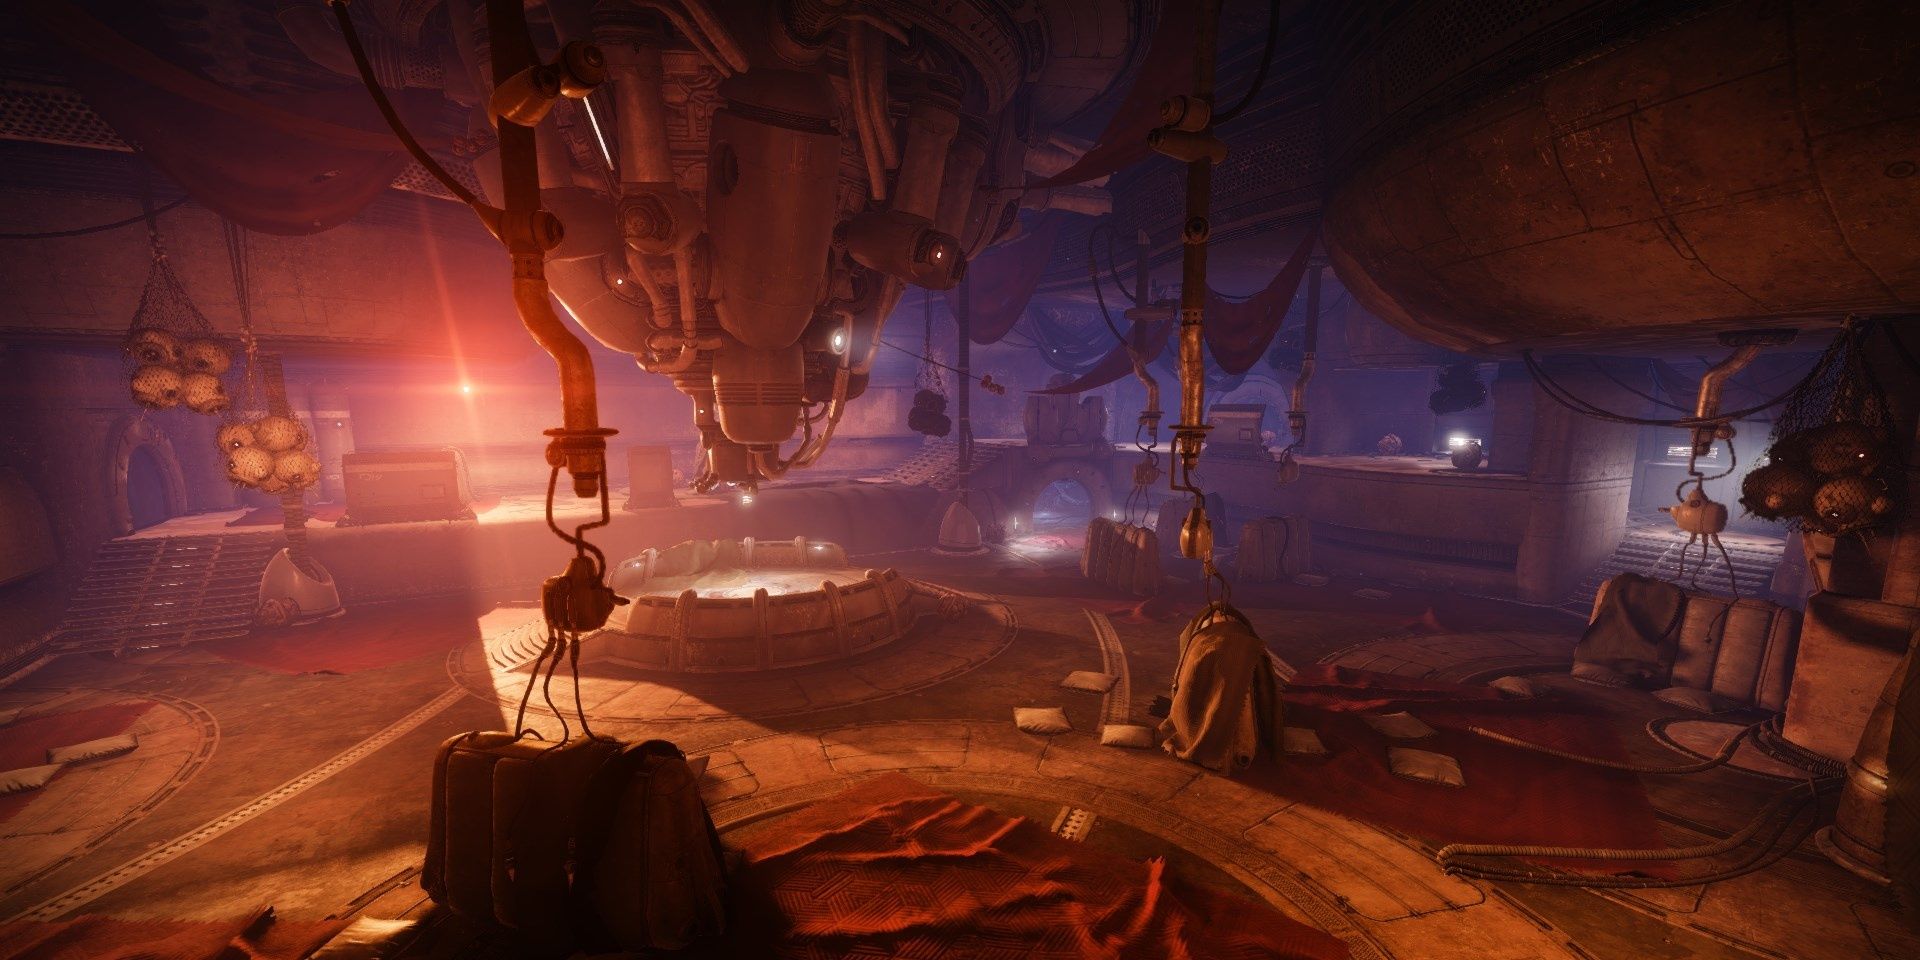
Dance Floor Enemies
- Two Overload Captains
- One Barrier Servitor
- Vandals
- Dregs
- Shanks
Have your Overload weapon at the ready. Guarding the dance flooring is an Overload Captain, and he isn't keen on letting you lot in. Apply whatever Overload weapon you accept to stun it, then utilize your strongest weapon to accept it out. If you accept a Grenade Launcher with Breach and Clear, debuff the Captain earlier damaging it further.
Pro Tip: When an Overload enemy is recovering from a stun, go on shooting it with an Overload weapon. This prevents the enemy from teleporting and regenerating its health, even while it'south immune to stuns.
By the Helm is a large room that has an Overload Helm DJ playing tunes for everyone. Pushing forrard is certain death, and so focus on the Overload Captain first. Stun it from a distance, debuff it with a GL if y'all tin, then take it out with your high-damage abilities and weapons. If y'all have Warmind Cell mods, attempt to impale the Helm with your 7th Seraph/IKELOS weapon. This will spawn a Warmind Cell, allowing you lot to impale most of the enemies in the room.
With the DJ gone, slowly make your way to the DJ'southward gear at the other side of the room. This makes for solid cover, simply beware of Vandals at the other side of the trip the light fantastic floor. Use whatever long-range weapon to take the Vandals out, provided they aren't protected by the Barrier Servitor at the other side of the room.
For the Servitor, you'll want to remove almost twenty% of its HP. This will force the Servitor to deploy its bulwark. Use an Anti-Bulwark weapon to pop the shield, removing all immunity tethers and stunning it for a short duration. When it's stunned, focus on killing all of the Vandals and Shanks nigh information technology. Stun the Servitor over again, terminate it off, so impale the residuum of the adds in the room. The DJ'south gear tin can now exist interacted with, opening the path forward.
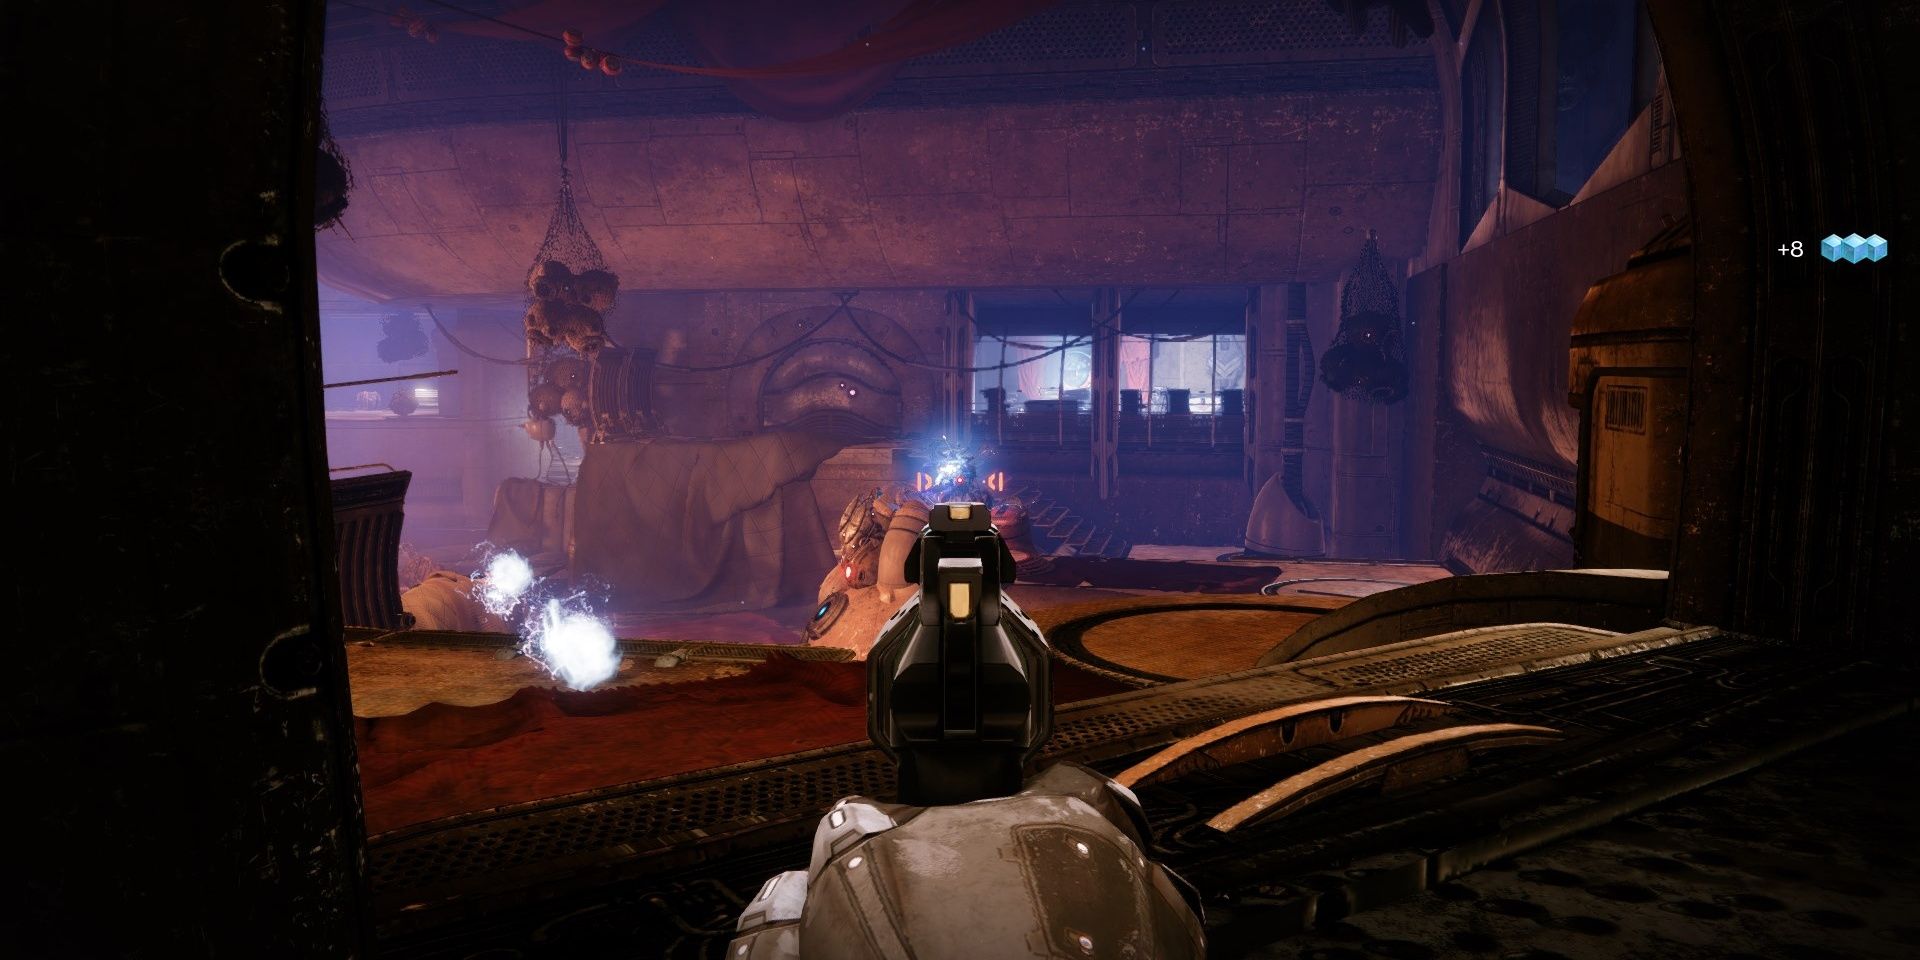
A Detailed Guide: Cages
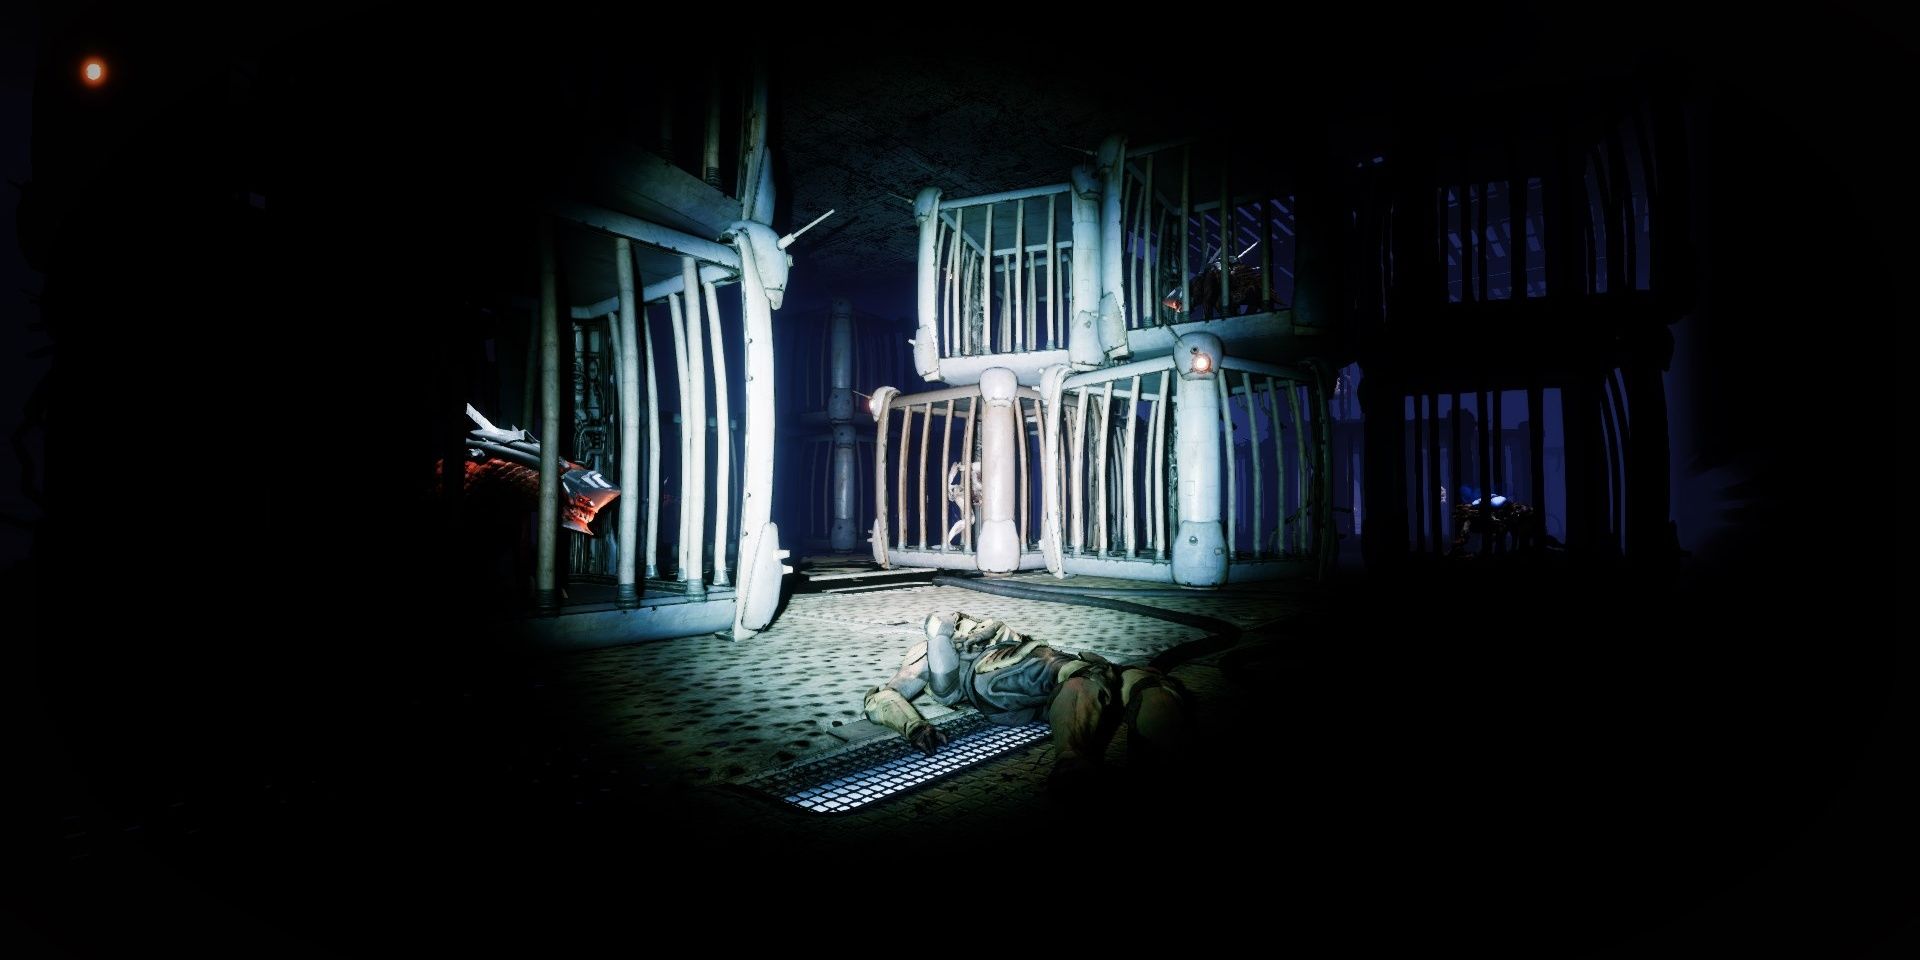
Cage Enemies
- One Overload Captain
- Thralls
- War Beasts
When you open the path forrard, an Overload Captain will rush into the dance floor. Similar the last two Captains, stun the dominate earlier taking information technology out. Push forward to enter an unlit storage room filled with caged enemies. A few Thrall and War Beasts will jump you lot in this room. Try to grouping all of them together before using a GL or grenade to take them out. Run through the storage room to reach the boss arena.
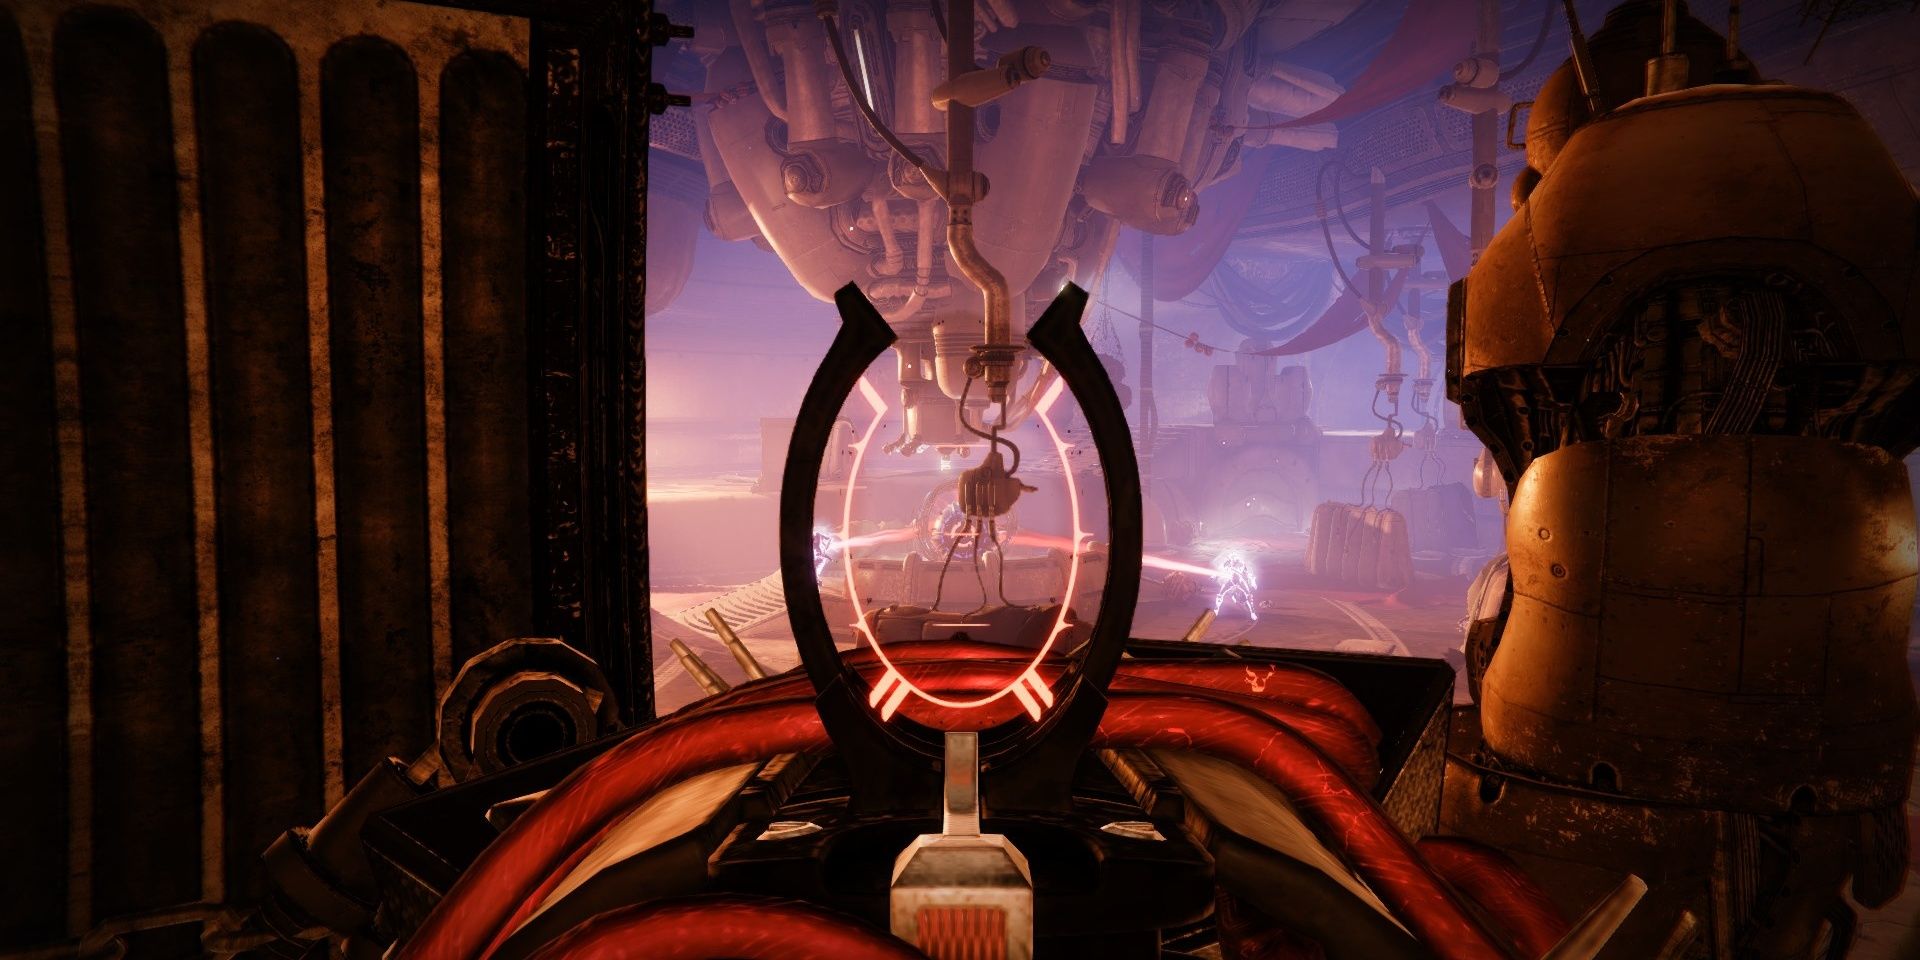
A Detailed Guide: Arena
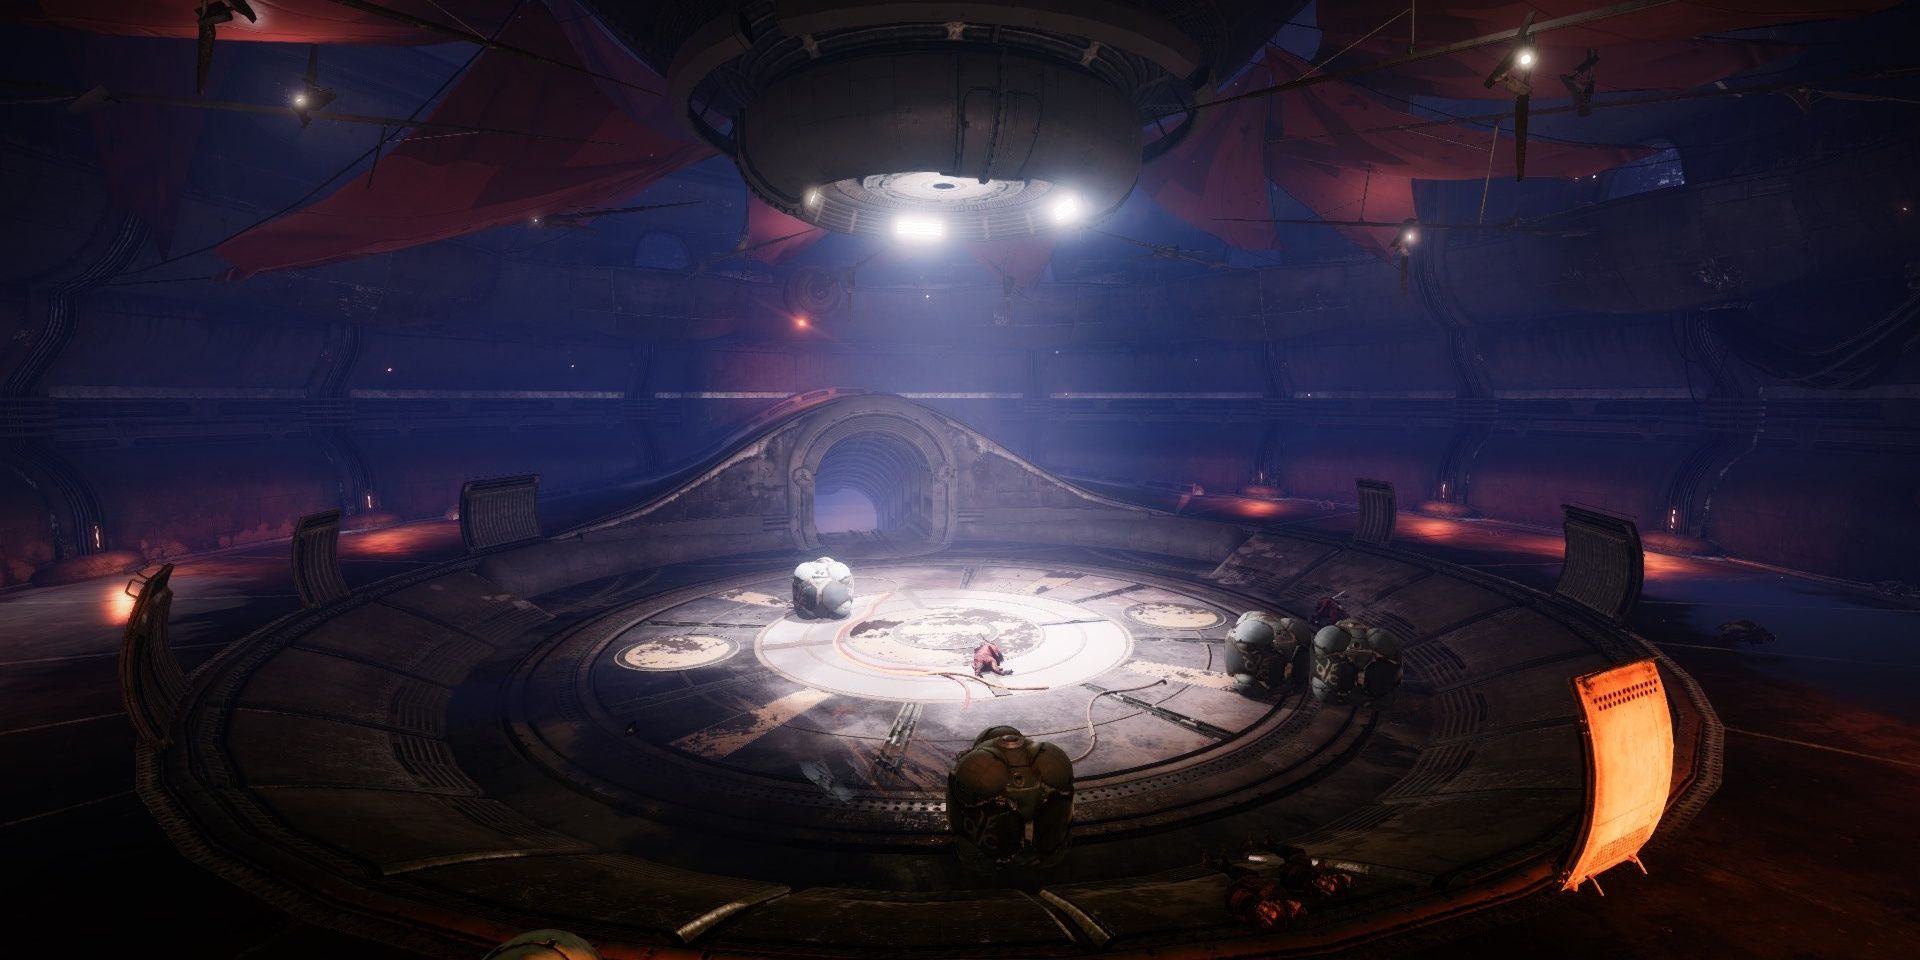
Arena Enemies
- Ii Bulwark Colossi
- One Overload Captain
- Captains
- Vandals
- Explosive Shanks
- War Beasts
The center of the arena will be housing a rather unfair fight betwixt 1 Barrier Colossus and a minor group of Fallen. Stick to the ramp that leads to the arena, and straight your attention towards the Barrier Champion. A few shots from Anarchy or Witherhoard will force the Cabal to deploy its shield. Pop the shield, and then practise your best to impairment the boss while the Fallen fire at yous. Clear out the Fallen once the Champion is dead.
Arena Moving ridge One
The boss will send ii waves of enemies before information technology'll face you. For the get-go wave, you'll have to fight an Overload Helm alongside a grouping of Explosive Shanks. Throw a grenade at the fog gate to the left of the boss. This should kill most of the Shanks. Stun the Captain and accept it out.
Loonshit Moving ridge Two
A second wave will spawn shortly later on you articulate the first group of enemies, this time spawning on the right side of the arena. They'll be a group of State of war Beasts and a Barrier Colossus. Impale the War Beasts first, using grenades or AoE weapons to have them out apace. Take out the Champion, and so get set for a messy boss fight.
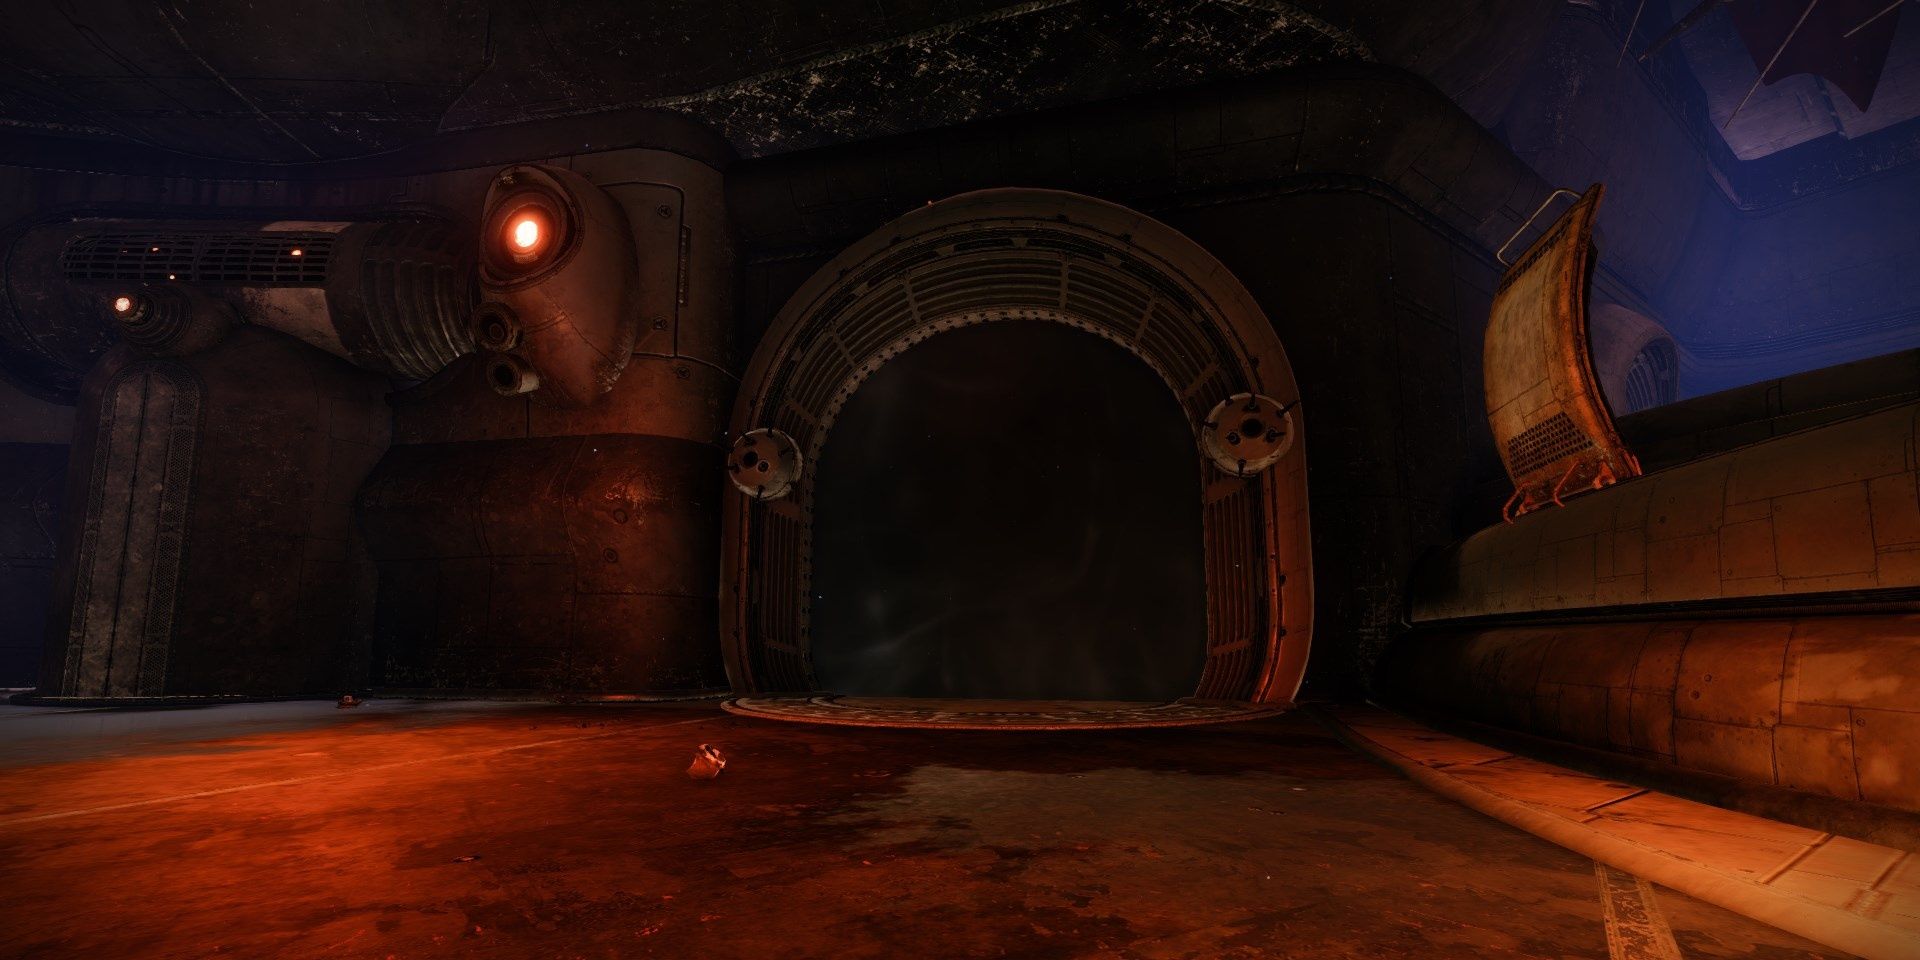
A Detailed Guide: Dominate Encounter
Dominate Meet Enemies
- 2 Barrier Servitors
- Azilis, Sunset Marauder
- Vandals
- Tracer Shanks
- Shanks
- Wretches
The bulwark surrounding the dominate and their bodyguards will dissipate. Unless the Barrier Servitors are already protecting people, immediately Super. You desire to impale as many enemies every bit possible before the Servitors brainstorm to make enemies invulnerable.
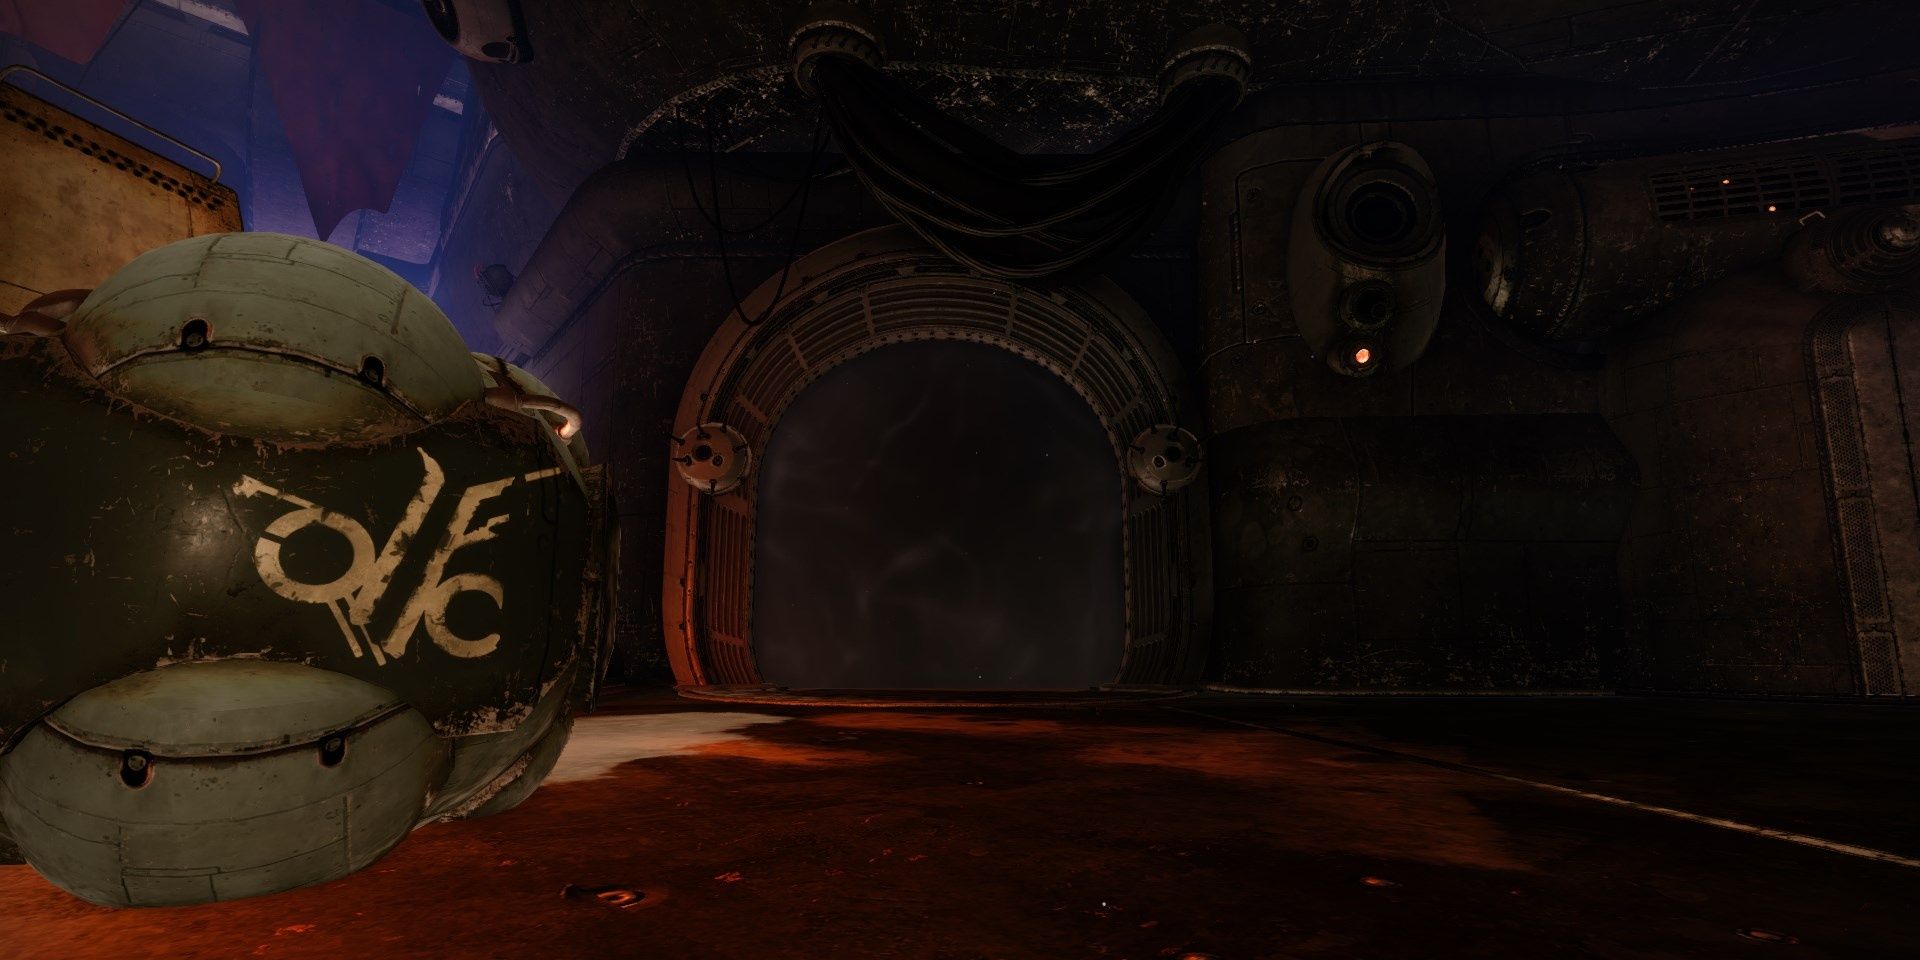
Make your manner to the other terminate of the arena, standing atop the archway to the arena. Employ this vantage betoken to pick away at the Servitors, destroying their barriers whenever they appear. Exist careful, every bit the boss and Wretches will periodically get aggroed on yous and effort to push. If this happens, endeavor your best to reposition or focus on the boss. Azilis is about as tough equally a Champion, so a adept Heavy weapon should kill him with little issue. Clear out the Champions, then eliminate the boss.
A last moving ridge of enemies volition spawn beside Azilis' throne when he gets weak. This wave is adequately footling, consisting of Wretches, Shanks, and Tracer Shanks. Kill the Tracers earlier the residuum of the adds. Once the boss is dead, head to the right of Azilis' throne to find the Lost Sector chest.

Empty Tank Legendary Lost Sector,
Source: https://www.thegamer.com/destiny-2-empty-tank-master-lost-sector-guide/
Posted by: smiththred1947.blogspot.com
0 Response to "Empty Tank Legendary Lost Sector"
Post a Comment